Welcome back to LCC’s Digital Learning team’s series on using digital learning platforms to help implement Universal Design for Learning principles in your teaching practice. In this post, our second in the series, we are focusing on using Miro. If you missed our first post on using Padlet, you can find it here.
New to Miro? This link will take you to a useful bank of resources and instructional videos, including how to register for your free educational account.
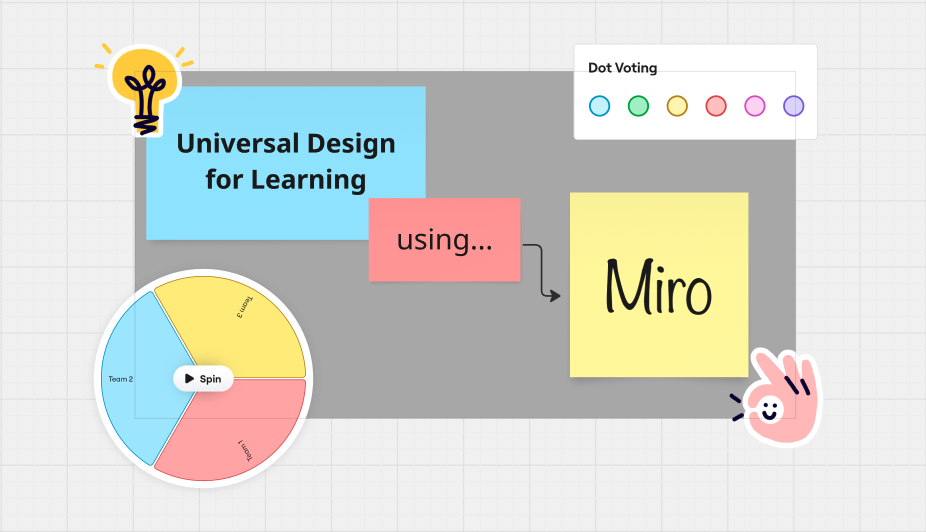
Universal Design for Learning (UDL) ‘is a framework to guide the design of learning environments that are accessible, inclusive, and challenging for every learner’. UDL puts a strong focus on learner agency through its three principles of:
1. Engagement – how can I engage and motivate all learners in my group?
2. Representation – how can I present information in ways that reach all learners?
3. Action & Expression – how can I offer options for students to show what they know?
Below are some ideas for how Miro can help promote these principles and remove potential barriers to synchronous and asynchronous learning.
1. Engagement
Miro has many embedded tools to promote learner engagement, some newly introduced in late 2024. These include:
– Polls – to gather anonymised opinions and feedback from the whole class, and for quick decision-making.
– Dot Voting – to gauge student preferences and make collective decisions. Colours can be allocated to individuals or teams.
– Timed voting – similar to Dot Voting, but is done under timed conditions (with music if desired) and is anonymous. The time and number of votes per person can be adapted. This tool may work better than Dot Voting with larger groups of students.
– Spinny Picker Wheel – to choose tasks, people or teams, or to make decisions where randomness is desired.
– Timer – to set a time-limit, encourage focus, and manage expectations for a task.
– Task Size T-shirts – to categorise and estimate the size of tasks. Works well with Timelines to provide a visual representation of progress or deadlines.
How to integrate the above tools into your Miro board (video 2:41)
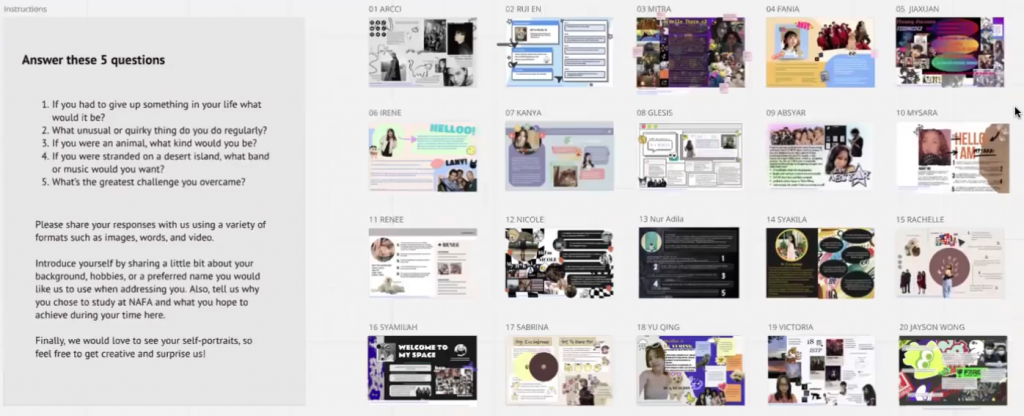
Miro can also be used to foster engagement and create rapport with a group of students at the start of a course or unit by asking them to create their own ‘Intro board’. Above is a screenshot from a presentation (for more, watch this video from minute 13:00-16:00) given by colleagues Micca Teo and Rachel Lim at Nanyang Academy of Fine Arts, Singapore. They share the benefits and implementation of using Miro in the classroom to foster collaboration and enhance student engagement in graphic communication classes at NAFA.
2. Representation
Miro allows for video, audio and visual representation, helping create multimedia content that is accessible to students with different learning preferences, styles and needs.
1. Miro allows the option to start or schedule a video call with everyone in the same board.
2. Talktrack, Miro’s inbuilt screen recording function, can support teaching and learning in a variety of ways. Talktrack:
– records video of a Miro board with the presenter (turn camera off for audio only);
– can be used by teachers to introduce an activity, set a task or recap information with visual support;
– can be used by students to record a walk-through of a concept map, design or crit;
– can generate subtitles / CC and has variable playback speeds;
– allows the viewer to pause and interact with the board.
Both video calls and Talktrack work on all devices through the Miro app, allowing for flexibility. Watch the video below for a tutorial on how to record a Talktrack (video 3.23).
3. Action & Expression
Miro offers many options for students to show what they know.
Beyond the tools highlighted in 1. Engagement, many of which can be adapted for this purpose, Miro also allows:
– students to create personalised and customisable Moodboards;
– students to create online studio crit spaces;
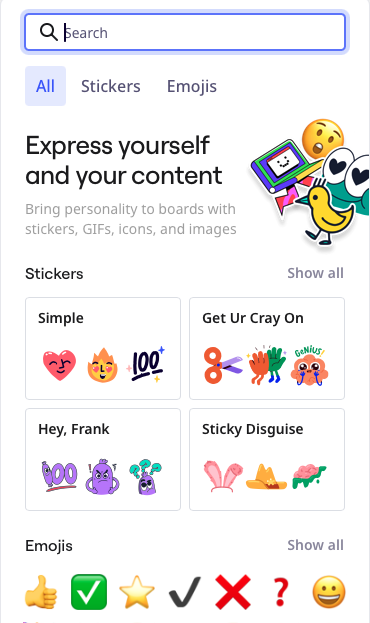
– students to give feedback to and receive feedback from peers and the teacher through freehand drawing, written comments or questions on post-its, GIFs, stickers, icons and images.
Image of Stickers, Emojis and GIFs on Miro
Using Miro + UDL in my own teaching
Start simple – is there one idea mentioned above that you might be able to easily integrate into your practice? If you need any support with Miro or any other digital learning tool, please get in touch with the Digital Learning Team (LCCDigitalLearning@lcc.arts.ac.uk) and we’d be very happy to help. We’d also love to hear your success stories, feedback and reflections on using digital tools, so please consider joining our team of Digital Learning Pioneers.
Further Reading
4 Ways to use Miro in your teaching
Miro: a new model for studio crits
The UDL Guidelines
Leave a Reply