Category: All Articles
Recent articles about teaching and learning at LCC
-
Learning with QR Codes
QR code or Quick Response Code was developed In 1994, by Japanese company DENSO WAVE. This kind of barcode can be scanned by smart phones to link to a webpage. It’s also really easy to generate a QR code like the one in the main image for this article. If…
Written by
-
Latest features in Collaborate ULTRA
Gallery view Collaborate Ultra has introduced a new way of viewing participants – the Gallery view. Gallery view allows Moderators, Presenters, and Participants to see up to 25 participants at a time or to zoom in on fewer videos. Attendees can also scroll through as many as 250 active cameras…
Written by

-
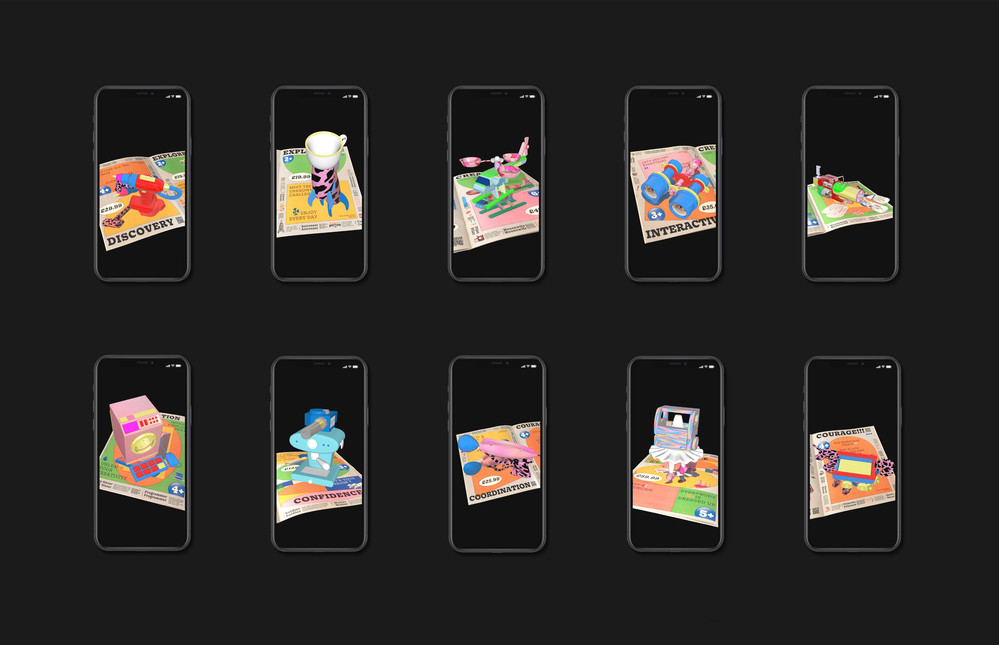
Student Digital Learning Champions – The Results
21/22 academic year saw the first cohort of Student Digital Learning Champions working with the LCC Digital Learning team. This was an enriching experience for both us and the students. The legacy of their projects, we want to keep alive in the coming academic year. Four Champions worked on 4…
Written by
-
Ally: Digital Accessibility in Moodle
Digital accessibility is an essential component for an inclusive approach to teaching online. As Moodle is a website it must align with WCAG 2.1 Level AA guidelines. Our learning material must be digitally accessible so that it can be used by everyone, especially disabled and neurodiverse students, approximately 25% of…
Written by
-
Anti-racism & digital learning
Within the digital learning profession there is interest in ‘race & tech’ generally, topics such as AI and racial bias for example, and in tackling structural racism in our own sector. Two years ago members of the UK HE digital learning community formed a community of practice around anti-racism which…
Written by

-
Asynchronous Learning In Moodle
Asynchronous learning activities don’t require students to be online at the same time. For example: Writing a private reflection Watching a video Collaboratively editing a shared online document Giving peer feedback Participating in a forum discussion Asynchronous learning activities give students flexibility and provide extra time to process, practice, reflect…
Written by

-
Recording of Changemakers Talk
A recording of June’s Changemakers Talk: Decolonising the Curriculum London x Kent is now available. The public panel discussion was hosted by London College of Communication on Thursday 23 June 2022. In this event, LCC Changemakers Cassia Clarke and Rachel Roland Martins and managers Lucy Panesar and Amita Nijhawan are…
Written by

-
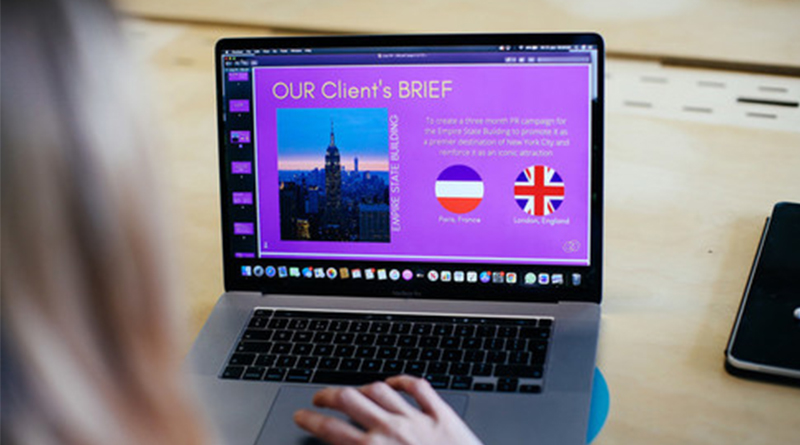
Colour Change
17% of students have declared themselves as being Dyslexic at UAL which is on par with the national figure of 16%. However the number of people working in the creative industry who are neurodiverse is higher with some reports doubling the figure to 32%. Which is a 3rd of the…
Written by

-
Helping Students with Digital Submissions
Have you received a ‘help‘ email from a student trying to submit their work online? Here’s how you can help: The Digital Space When to recommend the student contact The Digital Space Is the student having difficulty uploading their work? Does the student need help condensing their file? Did the…
Written by
-
Make Accessibility a Habit: PDF Files
The predominant file type on Moodle is PDF. In 2021, there we as many as 10,821 PDFs on LCC Moodle sites alone, which is roughly equivalent to 16 PDFs per site! Providing we have carried out the accessibility checks and followed good practice with Word documents and Presentation slides layout…
Written by