Captions for video content are embedded into everyday media consumption such as YouTube, Netflix and other social media platforms. As much as 92% of videos on mobile devices are viewed without sound. When students come into learning environments they have the expectation of captions on their educational media. It is also a legal responsibility to include captions as set out in the Web Content Accessibility Guidelines (WCAG) 2.2 AA.
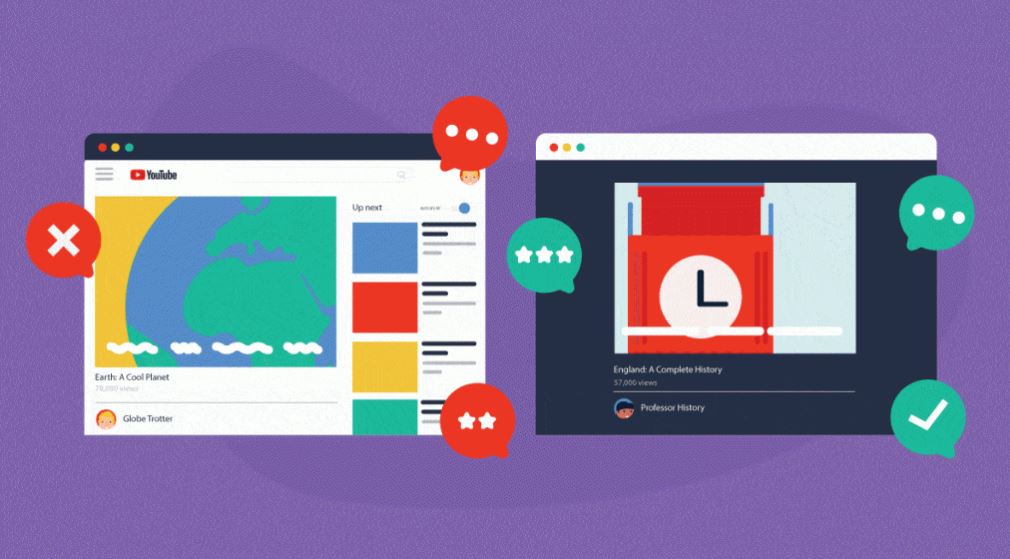
Why are captions important?
We should all know of the benefits of captions for the deaf and hard of hearing. It can also be helpful for those with ADHD, Dyspraxia and those who are on the autism spectrum as it helps them focus. Captions also support those who speak English as a second language.
Providing and using captions also;
- Mitigates low audio quality on recordings
- Helps with sound sensitive environments e.g., trying to study when you have a busy household.
- Improves focus
- Supports verbal memory
- Aids with information recall
When to use captions?
This is why spending some time on your captions for the range of video content you might produce is important and should not be overlooked. You will need to be aware of needing for captions for the following;
- Pre-recorded presentations or lectures
- Lecture capture
- Educational videos – such as guest speakers or demonstration videos
- Live online lectures
- Meetings.
How to use captions on UAL platforms
We are going to focus on how to use the captions on 3 UAL platforms; Panopto, Blackboard Collaborate and Teams. Each work differently and have different functionality. Let’s start with the one you will use the most for live lectures that you record.
Blackboard Collaborate
This platform is currently not as useful as others for captioning. It doesn’t auto generate captions but this is under development. However, you can allocate the role for someone to type in the captions during the session. They will appear in real time or at least as fast as the person can type. It is a good exercise to do with some students such as the ones studying journalism as they might need to develop transcribing skills.
The recommendation is that you put collaborate videos on to Panopto in order for captions to be generated. You can download the video by either going to the section on Moodle where the collaborate session is or you can open the session window, click the hamburger menu on the top left of the screen and select download. This should be done within 14 days of the recording in order to keep with in the Web Content Accessibility Guidelines 2.2 AA.
Panopto
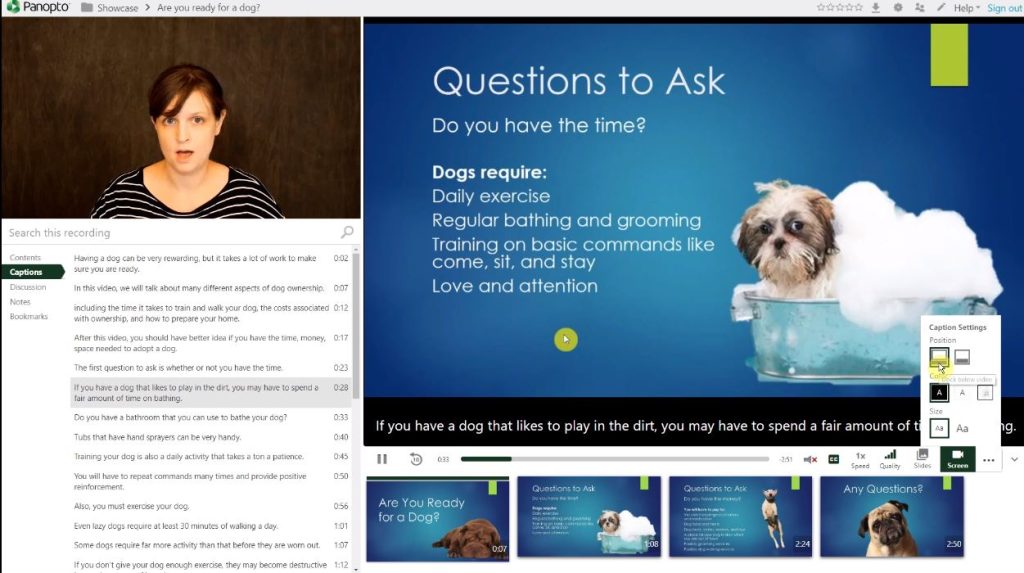
Panopto auto generates captions. It is important to review those captions after they have been generated as they may be inaccurate. ‘Moodle’ can become ‘module’ and ‘cog’ or even ‘knock’ or ‘dog’. Editing is easy to do. These videos will show you how to edit and view captions. In order to compliant with accessibility regulations you should correct your captions.
- Editing captions in Panopto (55 secs)
- Viewing captions (1m 30secs)
Teams
You can have live captions during a meeting, auto-generated on a recording. Transcripts are also downloadable once the meeting is completed.
In the same menu you will be able to turn on and show the transcript of the meeting. When you record the captions, a transcript will be embedded in the recording. You just have to remember to turn it on. The accuracy can very much depend on accents and diction. If you wish to edit the captions you can do this when you upload the recording to Panopto.
So, which is best? For pre-recorded content use Panopto but with live meetings you need to use what platform that best meets the need of your students.
For support with using captions on these platforms contact the LCC Digital Learning Team. lccdigitallearning@lcc.arts.ac.uk
Further resources:
- Make Things Accessible – a repository for accessibility guidance materials
- AT Hive – explore assistive technology (AT) and how it can help
- My Computer My Way – for advice on making your device easier to use if you have a disability
Leave a Reply
You must be logged in to post a comment.