Images on Moodle pages can set the tone and context of a unit. Also, they can be used for critical analysis and examples for ideation or inspiration. Some programme areas need to be able to bring their subject alive with images.
This post focuses on different Moodle tools to allow for galleries of images rather than having a scroll of images on the Moodle page.
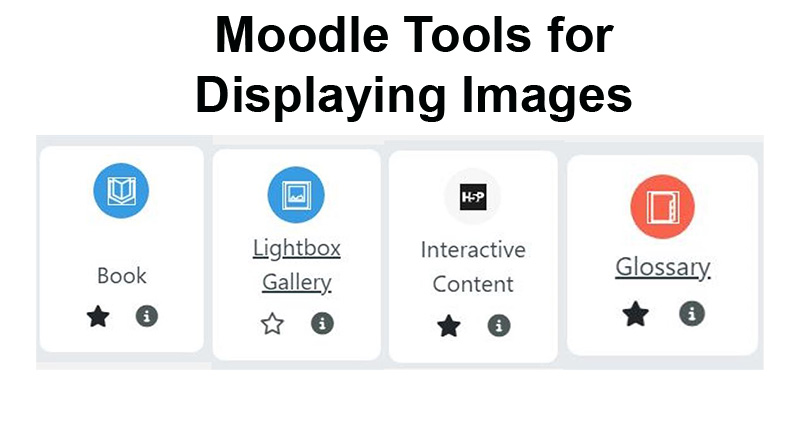
The four native tools we are going to look at are;
- Lightbox gallery
- Glossary
- H5P Image Slider
- Book
Each have their own pros and cons, and some will be stronger in different learning or subject contexts.
LIGHTBOX Gallery
This, I would say is the easiest to use. You can add a range of images to a gallery. Each image can have a caption and students can add comments to the whole gallery. You might want to add to the comments or captions to give context to the images.
Image sizing can be adjusted within the tool. However, the aspect ratio can not. 1:1 Square aspect ratio is the best to use or lightbox. The comments uses the standard text editor on Moodle called Atto. For accessibility, it follows the correct heading structure. The editor allows for audio and video comments, as well as written.
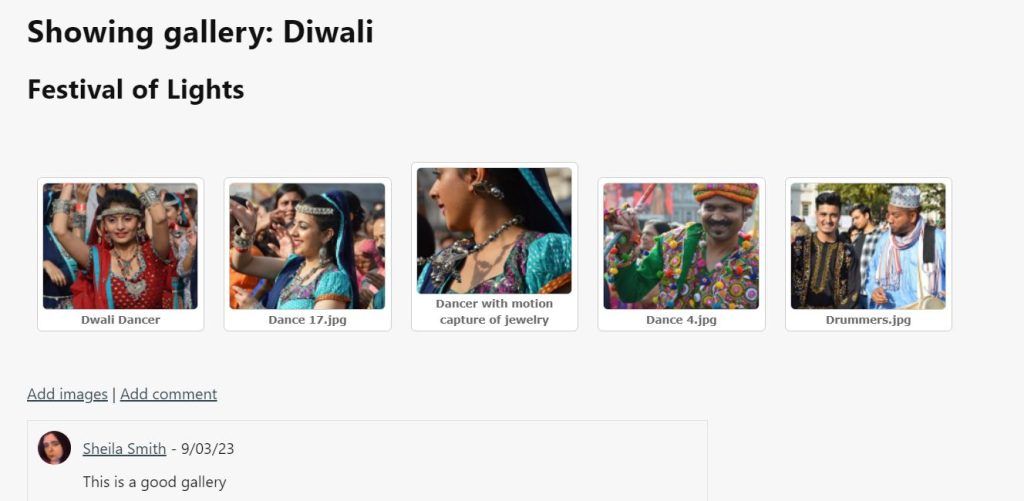
You can’t group the images or change the order of them when you upload them. Treat each gallery as a folder and theme them accordingly. There is not an option to add alternative text, so we recommend you use the captions to address this as best you can.
How to set up and add images to Lightbox – (Video 3 minutes, 4 seconds)
Glossary
As the name suggests this tool lets you have create a glossary and you can have the images in different orders, such as by date or alphabetical. It lets you add more text using the standard editor. Students can add comments and add to the glossary.
How to set up a glossary – Video (6 minutes 21 seconds)
One of the benefits of this tool is you can add a block to the side of your Moodle page and randomize the entries. This brings the images to the page adding to the visuals of the site.
HP5 Image Slider
This can be like the Lightbox but you create a slide show. However, it does let students see images in full screen. It can also be part of other H5P elements such as questions.
Using the H5P interactive content tool in Moodle, you can add images. Inside the tool you have some basic editing like cropping and rotating as well as setting the aspect ratio. Alternative text and copyright information is an option when compiling the image slider.
It doesn’t let you add comments or other information other than what is in copyright. Image sizing on this can be really tricky and looks best on landscape images rather than portrait or square aspect ratios.
How to use H5P image slider – Video (2 minutes, 31 Seconds)
Book
This tool is best used if you want to focus with some depth on a theme within a subject, for example; dark room techniques or designs from different eras. You can set up chapters and subchapters. Again this uses the Atto editor where you can insert an image with some text to put the image into context.
This doesn’t allow for interaction with the students as there is not an option to add comments, but it does collate images in a clear and ordered fashion which might help students grasp key concepts.
How to set up books on Moodle – Video (3 Minutes, 7 Seconds)
If you need any support with setting up any of these tools then please contact the LCC Digital Learning Team – lccdigitallearning@lcc.arts.ac.uk
Leave a Reply