
As we work on the accessibility of our documents and PDF’s we should also take some time to look at the Moodle site itself. In this post we will talk your through what to think about to boost the inclusiveness of the page.
This includes:
- Recite Me
- Format
- Atto text editor
- Images
Recite Me
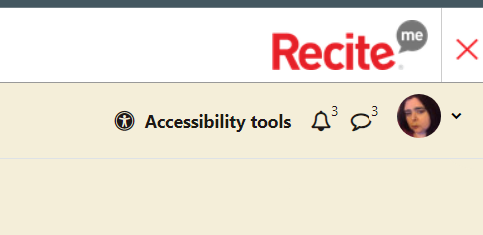
First, let’s talk about Recite Me. This assistive technology Toolbar is a built in tool to the new look Moodle 4. This tool can do a range of functions from changing background colour, screen reader, translator and even a dictionary. To turn on the toolbar, go to the top right hand corner of any Moodle site or page and click “Accessibility Tools”
The individual settings will be saved for the next time the tool is used. Watch this introduction video by recite me and see how it can benefit you and your learners.
Format
The next thing to think about is the format of your Moodle site. The most popular formats at LCC are Grid, Topics and Weekly formats. Here are some tips and things to consider for each format.
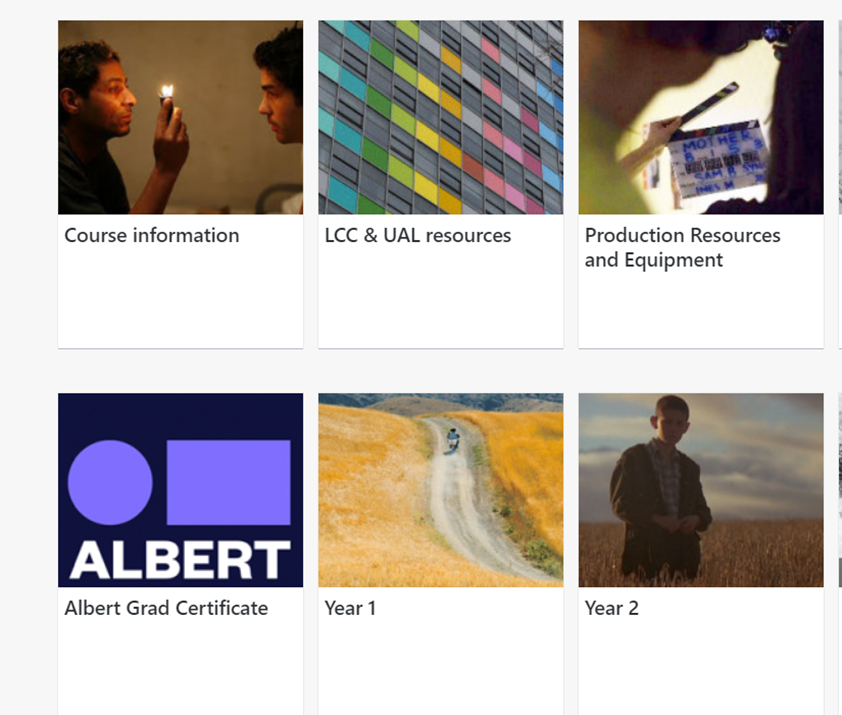
Grid Format
- Once an image / tile is selected it will only show one section at a time.
- Use images for decorative purposes only and not for section titles.
- You should not have text in the images.
- A reasonable exception would be a company logo linked to a live brief. In that case the alt text should reflect the name of the company.
Topics Format
- Give a short, clear title for each section.
- Organize sections by topic, unit, or week.
- Be consistent across the course / Programme area.
Weekly Format
- If organizing in a weekly format give a clear summary for each section to help students find course content; it may be difficult to remember which date(s) a topic was covered on.
- Be consistent across the course / Programme area.
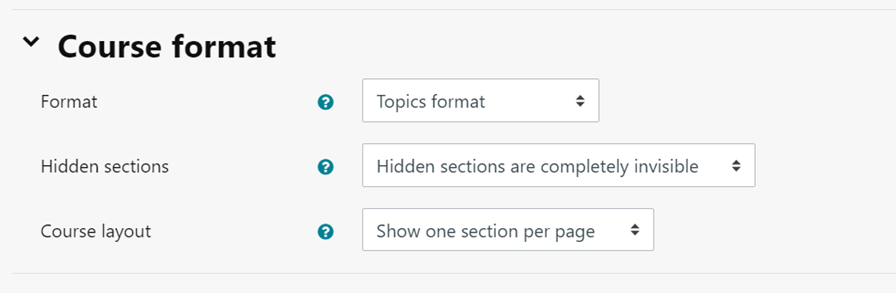
Settings – Show one section per page
In the Topics and Weekly format you might find it useful to adjust the settings so only one section appears on the screen at a time and students are not met with the scroll of doom, making the viewing experience neater and less cluttered.
Go to course settings / course format / course layout. Select Show one section per page. Click save and return to course.
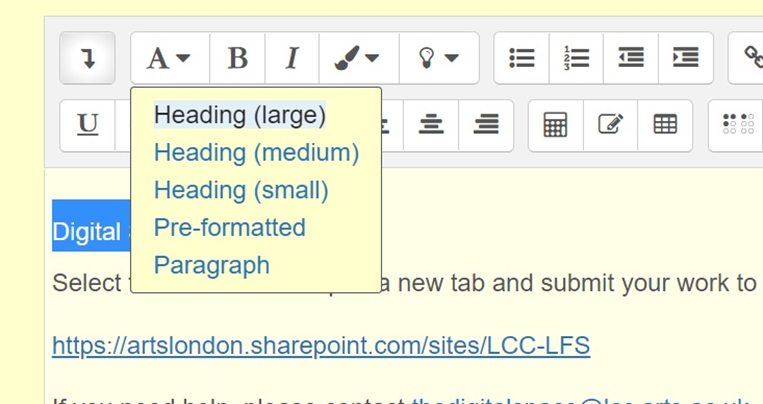
Atto Text Editor
The Atto editor is the text editor within Moodle. You will find it where you can put a description, as well as in the text and media activity.
The headings in the editor works within a hierarchy, and you should always have a heading and have it start at the highest setting of large. Read this post on how to avoid other accessibility Atto editing errors.
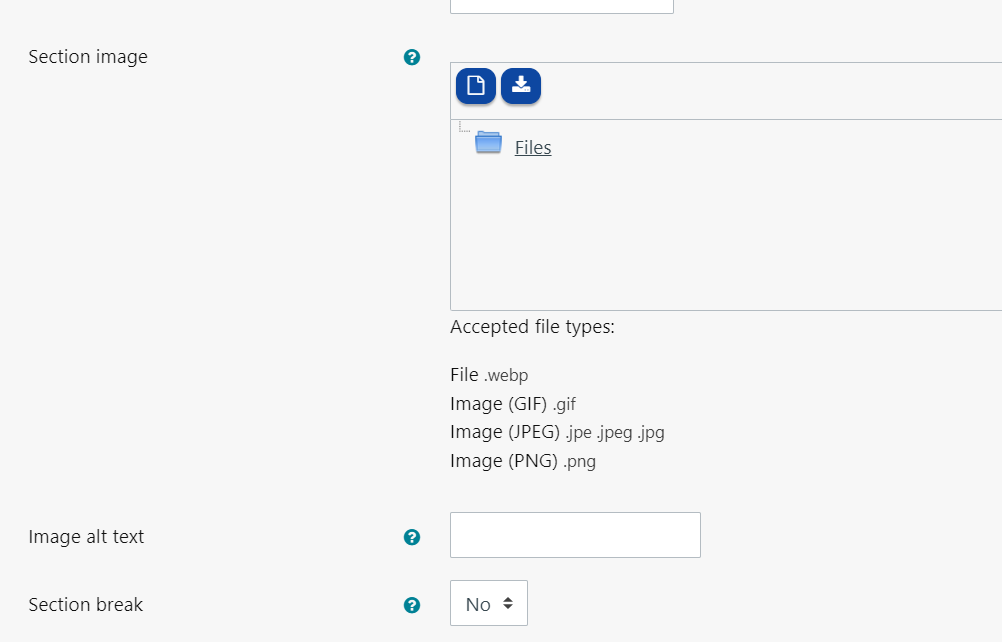
Images
Images should always be either marked or described as “Decorative Image” or have a description of the image, if it has important information needed as part of learning. When you load a image up in the Atto editor you will have the option to do both. Moodle will not accept an image without decorative image being ticked or a description.
Images used in a grid formatted site should be marked as “Decorative Image”. Ideally this should be done when loading up the images. Turn on editing, click on the 3 dots at the top of a section, then add the text to the image alt text box and then click save.
For any help with making your Moodle site more accessible and inclusive, contact the digital learning team – lccdigitallearning@lcc.arts.ac.uk.